We don't have much soil, so we must maximize what we have.
How to Plant Within Your Sheet Mulch
So, you’ve done it. You’ve laid down the cardboard, layered the organic matter, and transformed your garden into a moisture-wicking, weed-smothering masterpiece. But now comes the moment of truth: How do you actually put a plant in the ground without ruining the ecosystem you just built?
Sheet mulching (or "lasagna gardening") is brilliant for soil health, but you can’t just toss seeds onto a dry sheet of cardboard and hope for the best. You need a strategy. Enter the Pocket Planting method—a surgical approach to gardening that protects your soil's progress while giving your new plants a VIP start.
Why the "Cut-and-Clear" Method Works
When you sheet mulch, you are essentially building a slow-release pharmacy for your plants. By cutting specific holes rather than tilling the whole bed, you:
- Preserve the Fungal Network: You keep the mycelium and earthworms undisturbed in the surrounding areas.
- Targeted Nutrition: You place high-quality compost exactly where the roots can reach it, rather than wasting it on the paths.
- Immediate Weed Control: By keeping the cardboard intact everywhere else, you ensure that dormant weed seeds stay buried and light-starved
Step-by-Step: The Perfect Pocket Plant
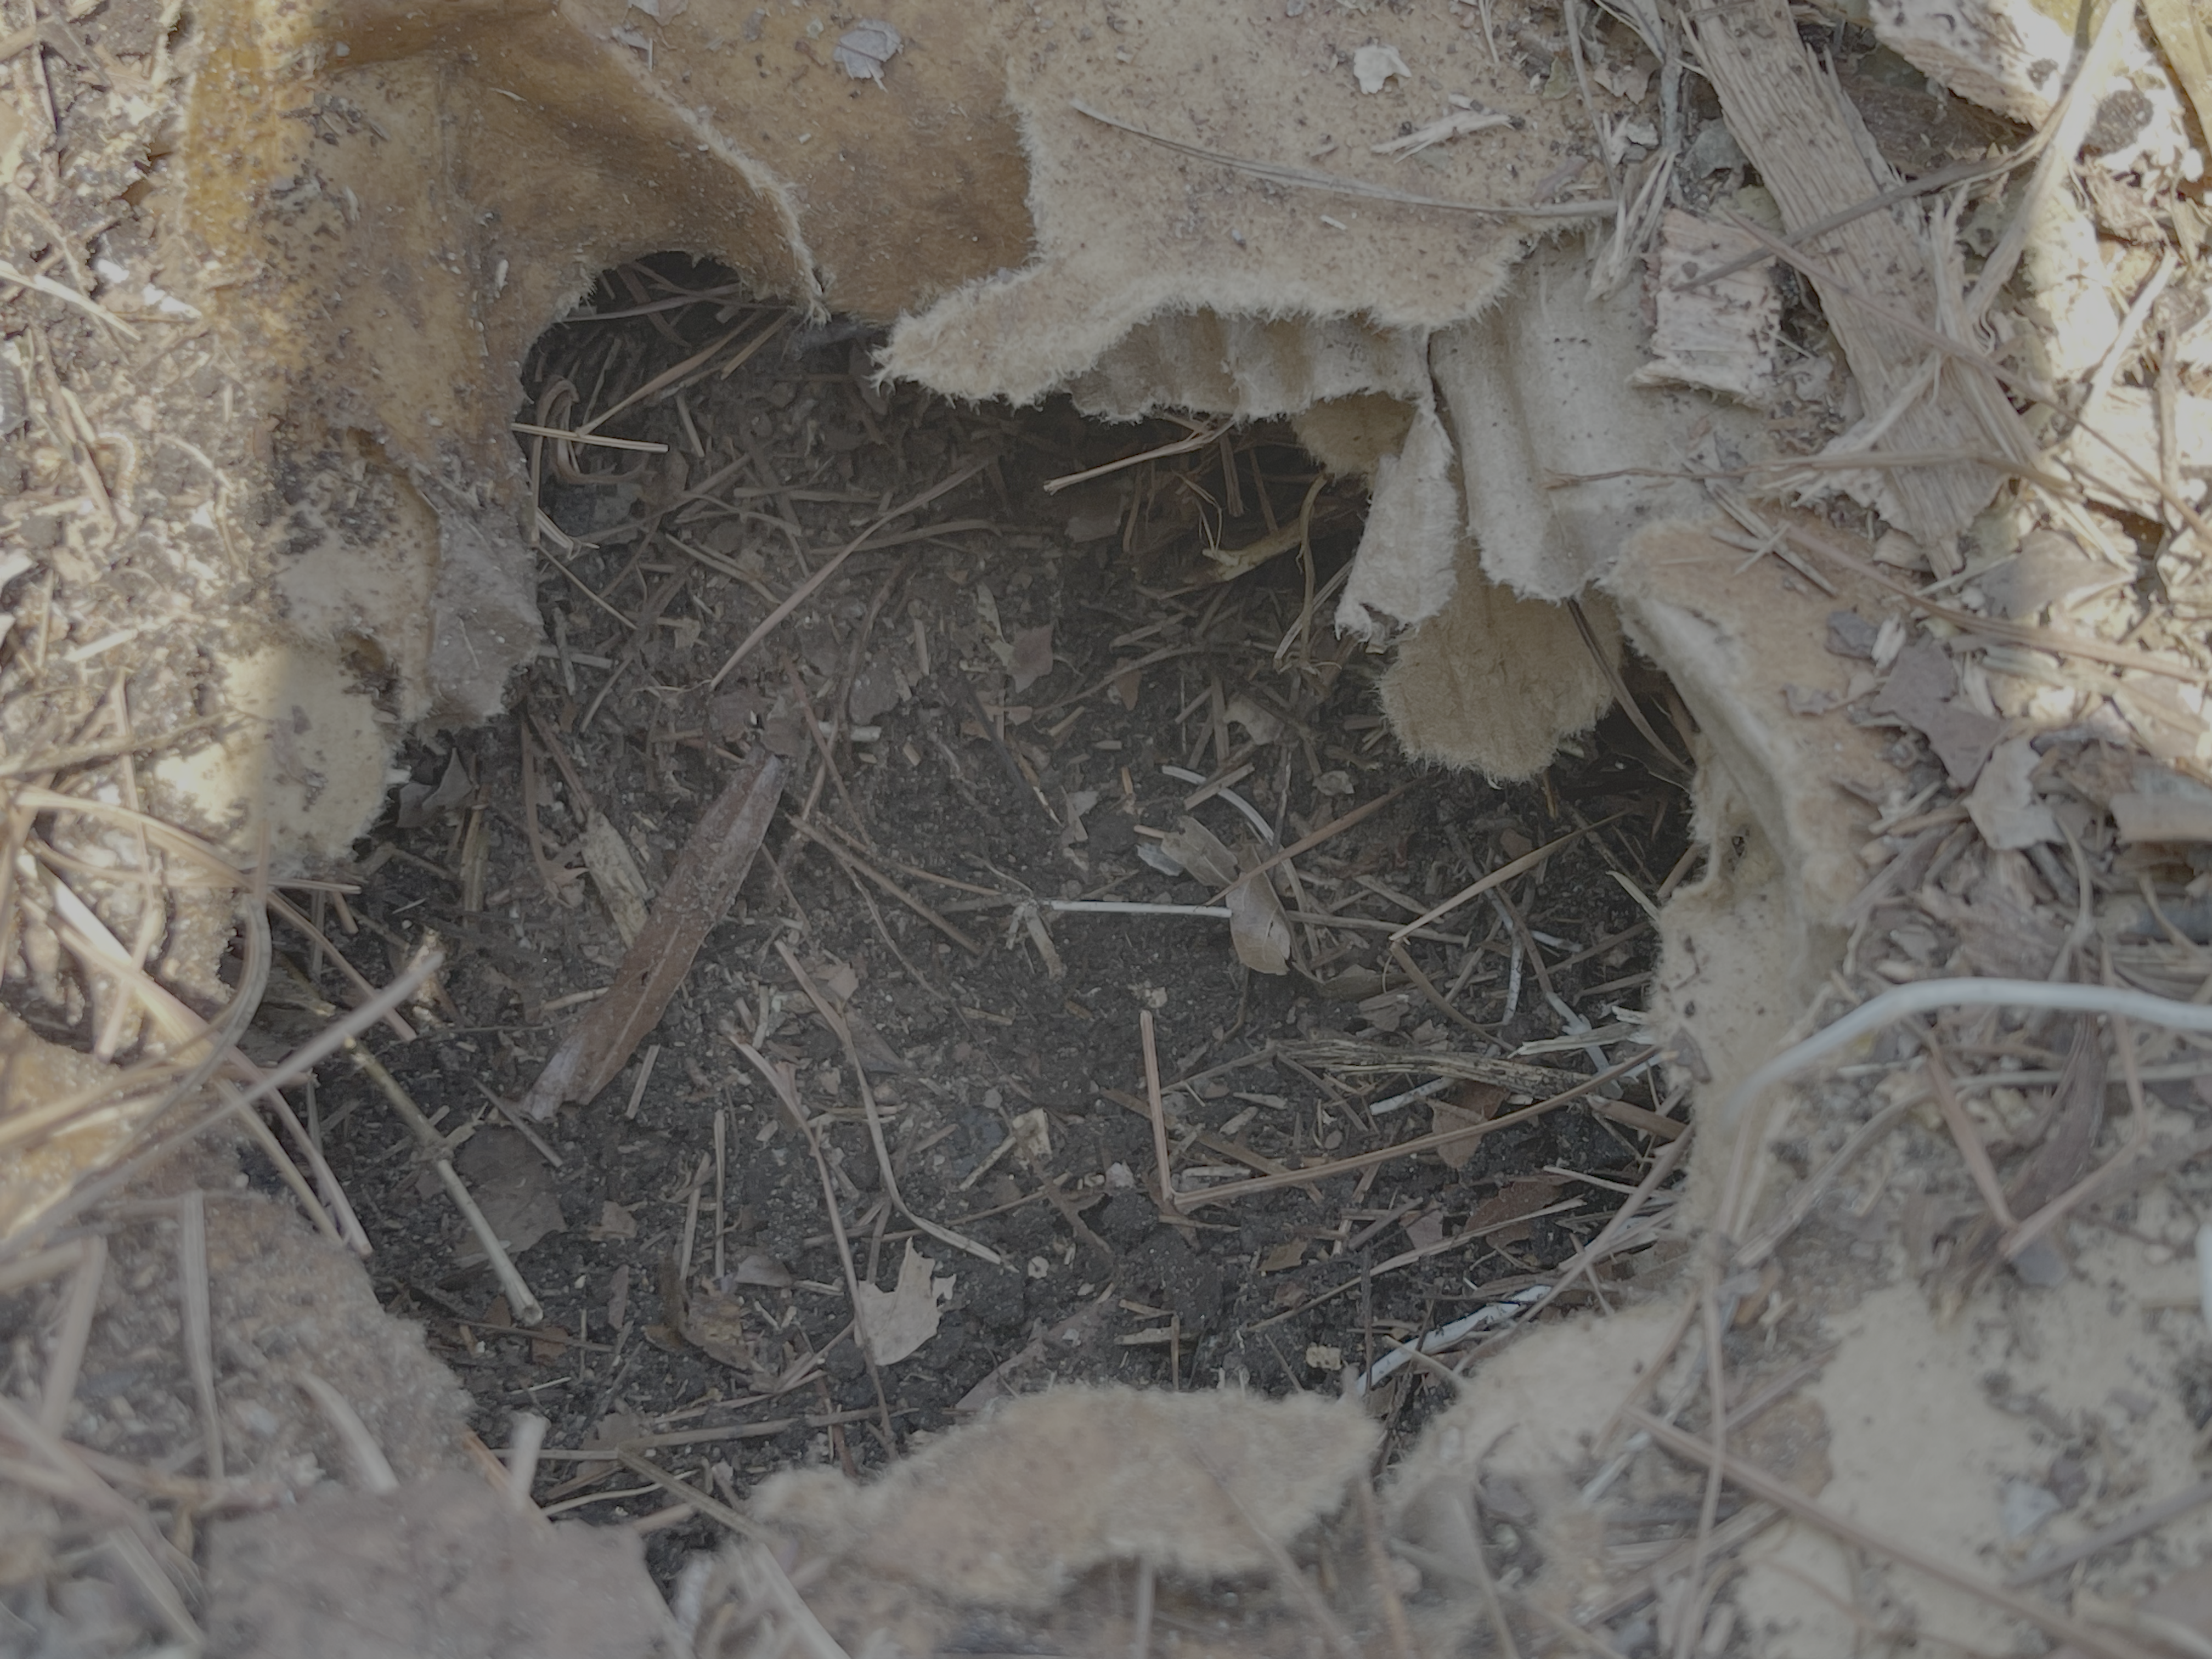
1. The Surgical Strike
Locate your planting spot and use a utility knife or a sharp spade to cut an "X" or a circle into the cardboard. Fold the flaps back or remove the piece entirely. Clear away any coarse mulch (like wood chips) from the immediate 6-inch radius to prevent them from falling into the planting hole and robbing the soil of nitrogen as they decompose.
2. The Soil Integration
Don't just dig a hole and drop a plant in. Mix your fully composted soil with a bit of the existing native soil at the base.
Pro Tip: This prevents "container syndrome," where roots refuse to leave the comfort of the rich compost and fail to establish themselves in the deeper ground.
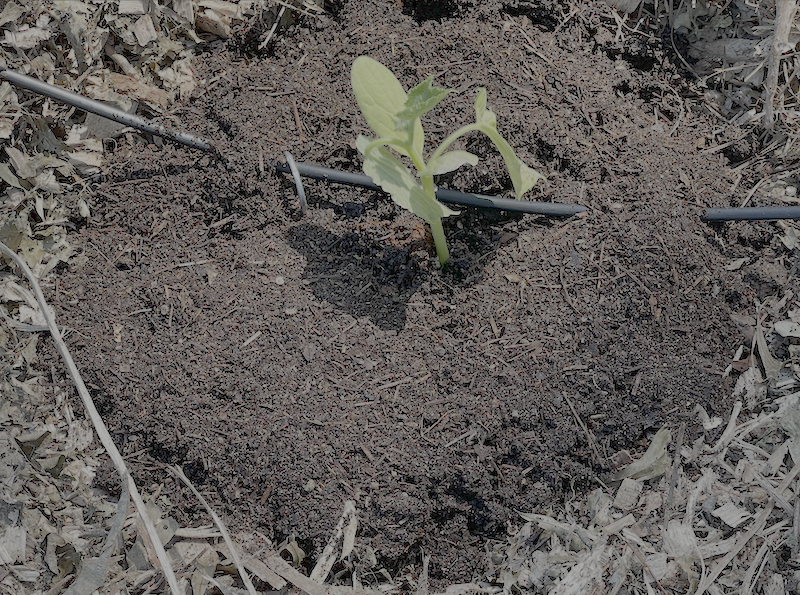
3. The Compost "Halo"
Once the plant is in, add a top dressing of compost around the base. Think of this as a slow-drip feeder. Every time it rains, the nutrients from that top layer will percolate down toward the root ball.
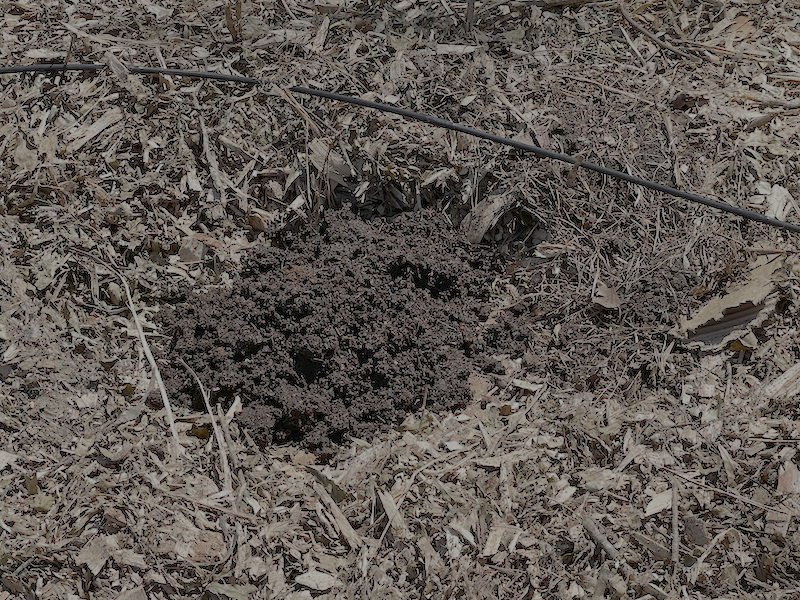
4. The Wood Chip Barrier
Finally, pull your wood chips back toward the plant, but leave a small gap (about an inch) around the actual stem. Touching the stem directly with mulch can trap moisture and cause rot or invite fungal pathogens. This "donut" of wood chips will:
- Regulate soil temperature.
- Prevent the new compost from drying out and becoming hydrophobic.
- Stop "opportunist weeds" from taking advantage of the freshly disturbed soil.

Managing the Transition
As your cardboard breaks down over the next 6 to 12 months, the "pocket" will eventually merge with the rest of the garden bed. By the time the cardboard is gone, your plant's roots will be deep enough to navigate the native soil, and the surface will be a rich, dark humus.
The result? A garden that requires 70% less water, almost zero weeding, and produces plants that look like they’ve been pampered at a five-star resort.
Comparison: Traditional Tilling vs. Pocket Planting
Feature | Traditional Tilling | Pocket Planting (Sheet Mulch) |
Effort | High (Digging/Turning) | Low (Strategic Cutting) |
Soil Structure | Destroyed | Enhanced & Protected |
Weed Pressure | High (Brings seeds to surface) | Minimal (Smothers seeds) |
Moisture Retention | Poor (Rapid Evaporation) | Excellent (Mulch Blanket) |