Let's try composting with worms!
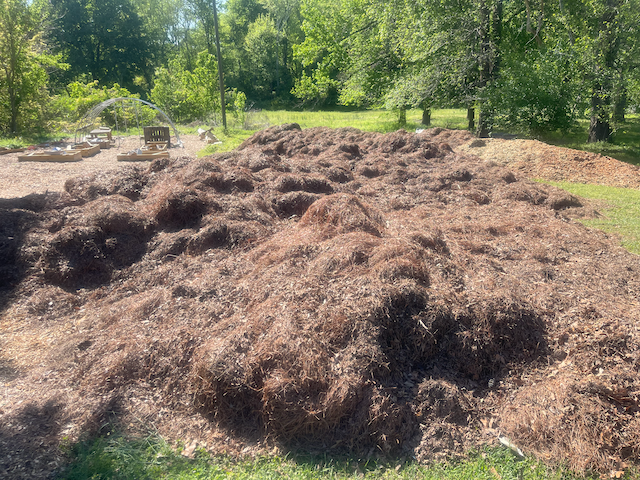
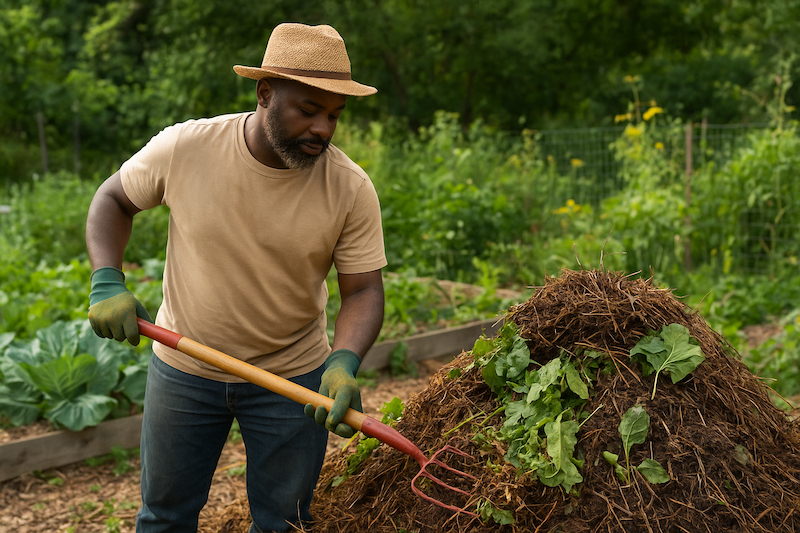
It’s been raining for the past few days, so it’s nice to finally see the clouds give way to some sunshine. Before we get into today’s topic — worms — let’s take a quick look at the compost piles I built last week.
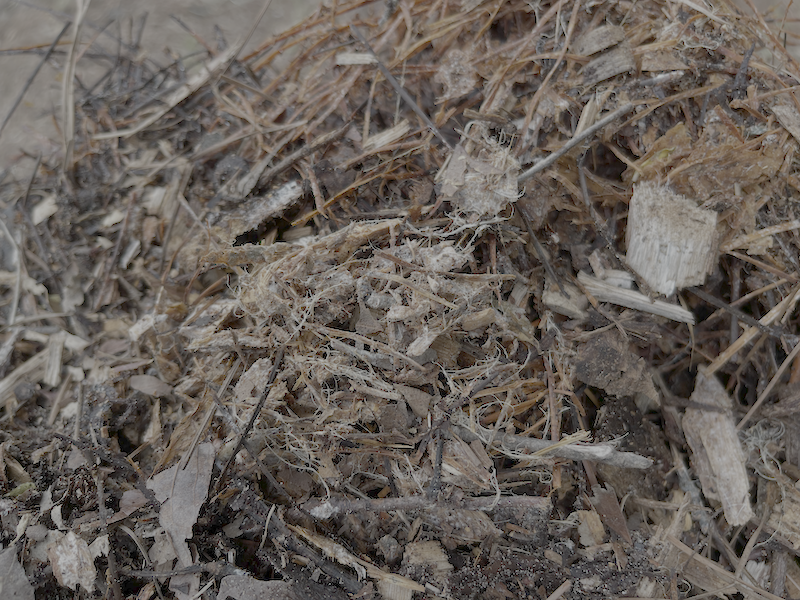
With all the rain, the piles are very damp and have shrunk quite a bit. That’s a good sign that decomposition is happening. I’ll let them continue to break down for a few more days before turning or adding anything else.
Now, let’s talk worms — one of the primary decomposers we’ve mentioned before. We’re going to experiment with a process called vermiculture, which means using worms to decompose organic matter into a nutrient-rich fertilizer called worm castings
Instead of buying worms online, we’re going to start with native worms and encourage their population to grow naturally in our garden beds.
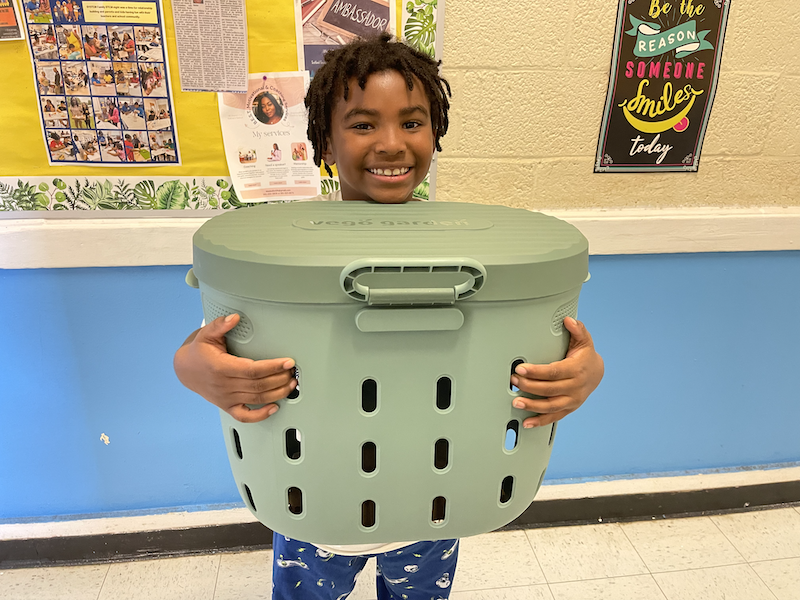
I’m using a worm bin made by Vego Garden. They’re not sponsoring this video, but the bins came highly recommended for small-scale vermiculture projects. The design is smart — there’s a locking lid to keep out larger animals like dogs, raccoons, and opossums. The sides and bottom have ventilation slits that let worms move freely in and out of the bin as they search for food.
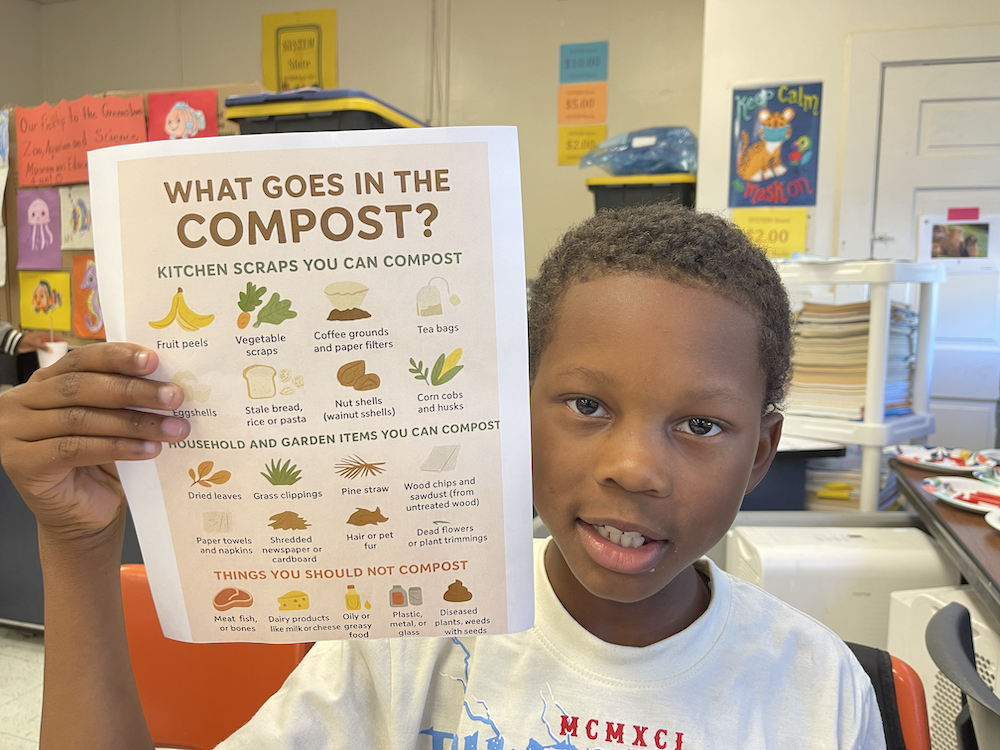
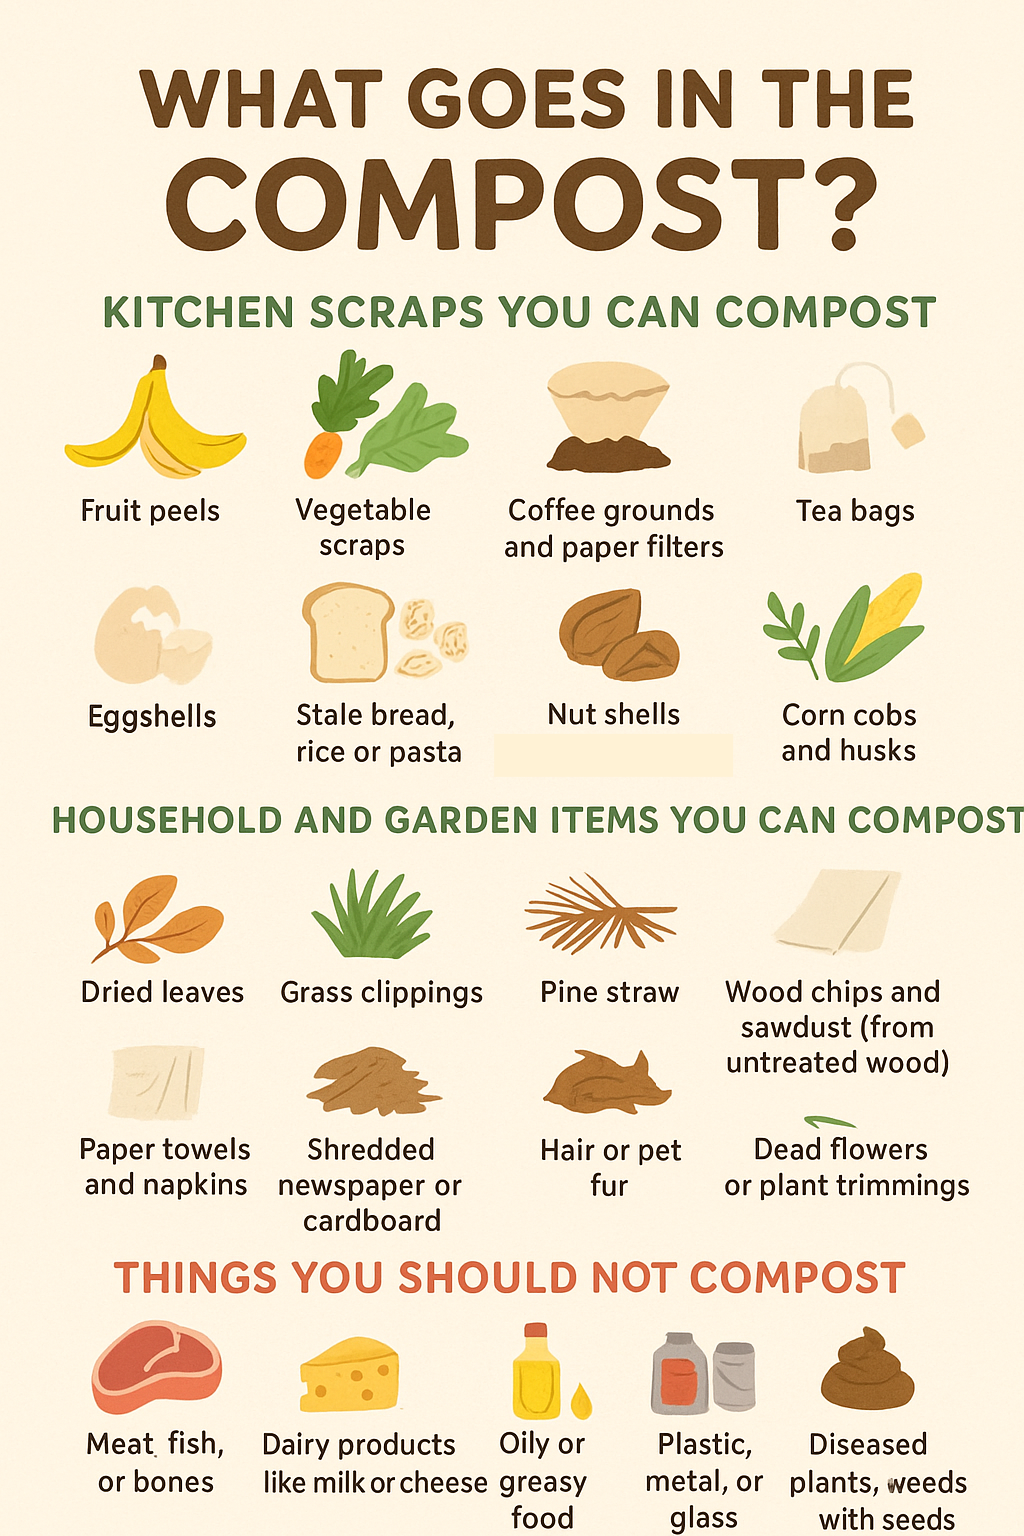
Just like with our regular compost piles, we’ll stick to the items on our compost list — fruit and vegetable scraps, coffee grounds, eggshells, and shredded paper or dry leaves.
As I fill the containers, I’m layering the browns and greens the same way we do in composting: browns for carbon, greens for nitrogen. Because we’ve had so much rain lately, I won’t add any extra water — the material is already plenty moist.
I have lots of kitchen scraps saved up, so I’m going to set up a second worm bin in the neighboring bed.
When you’re done adding your scraps, make sure you close and lock the lid. That keeps the animals out — and the worms in, doing their important work turning food waste into fertilizer.
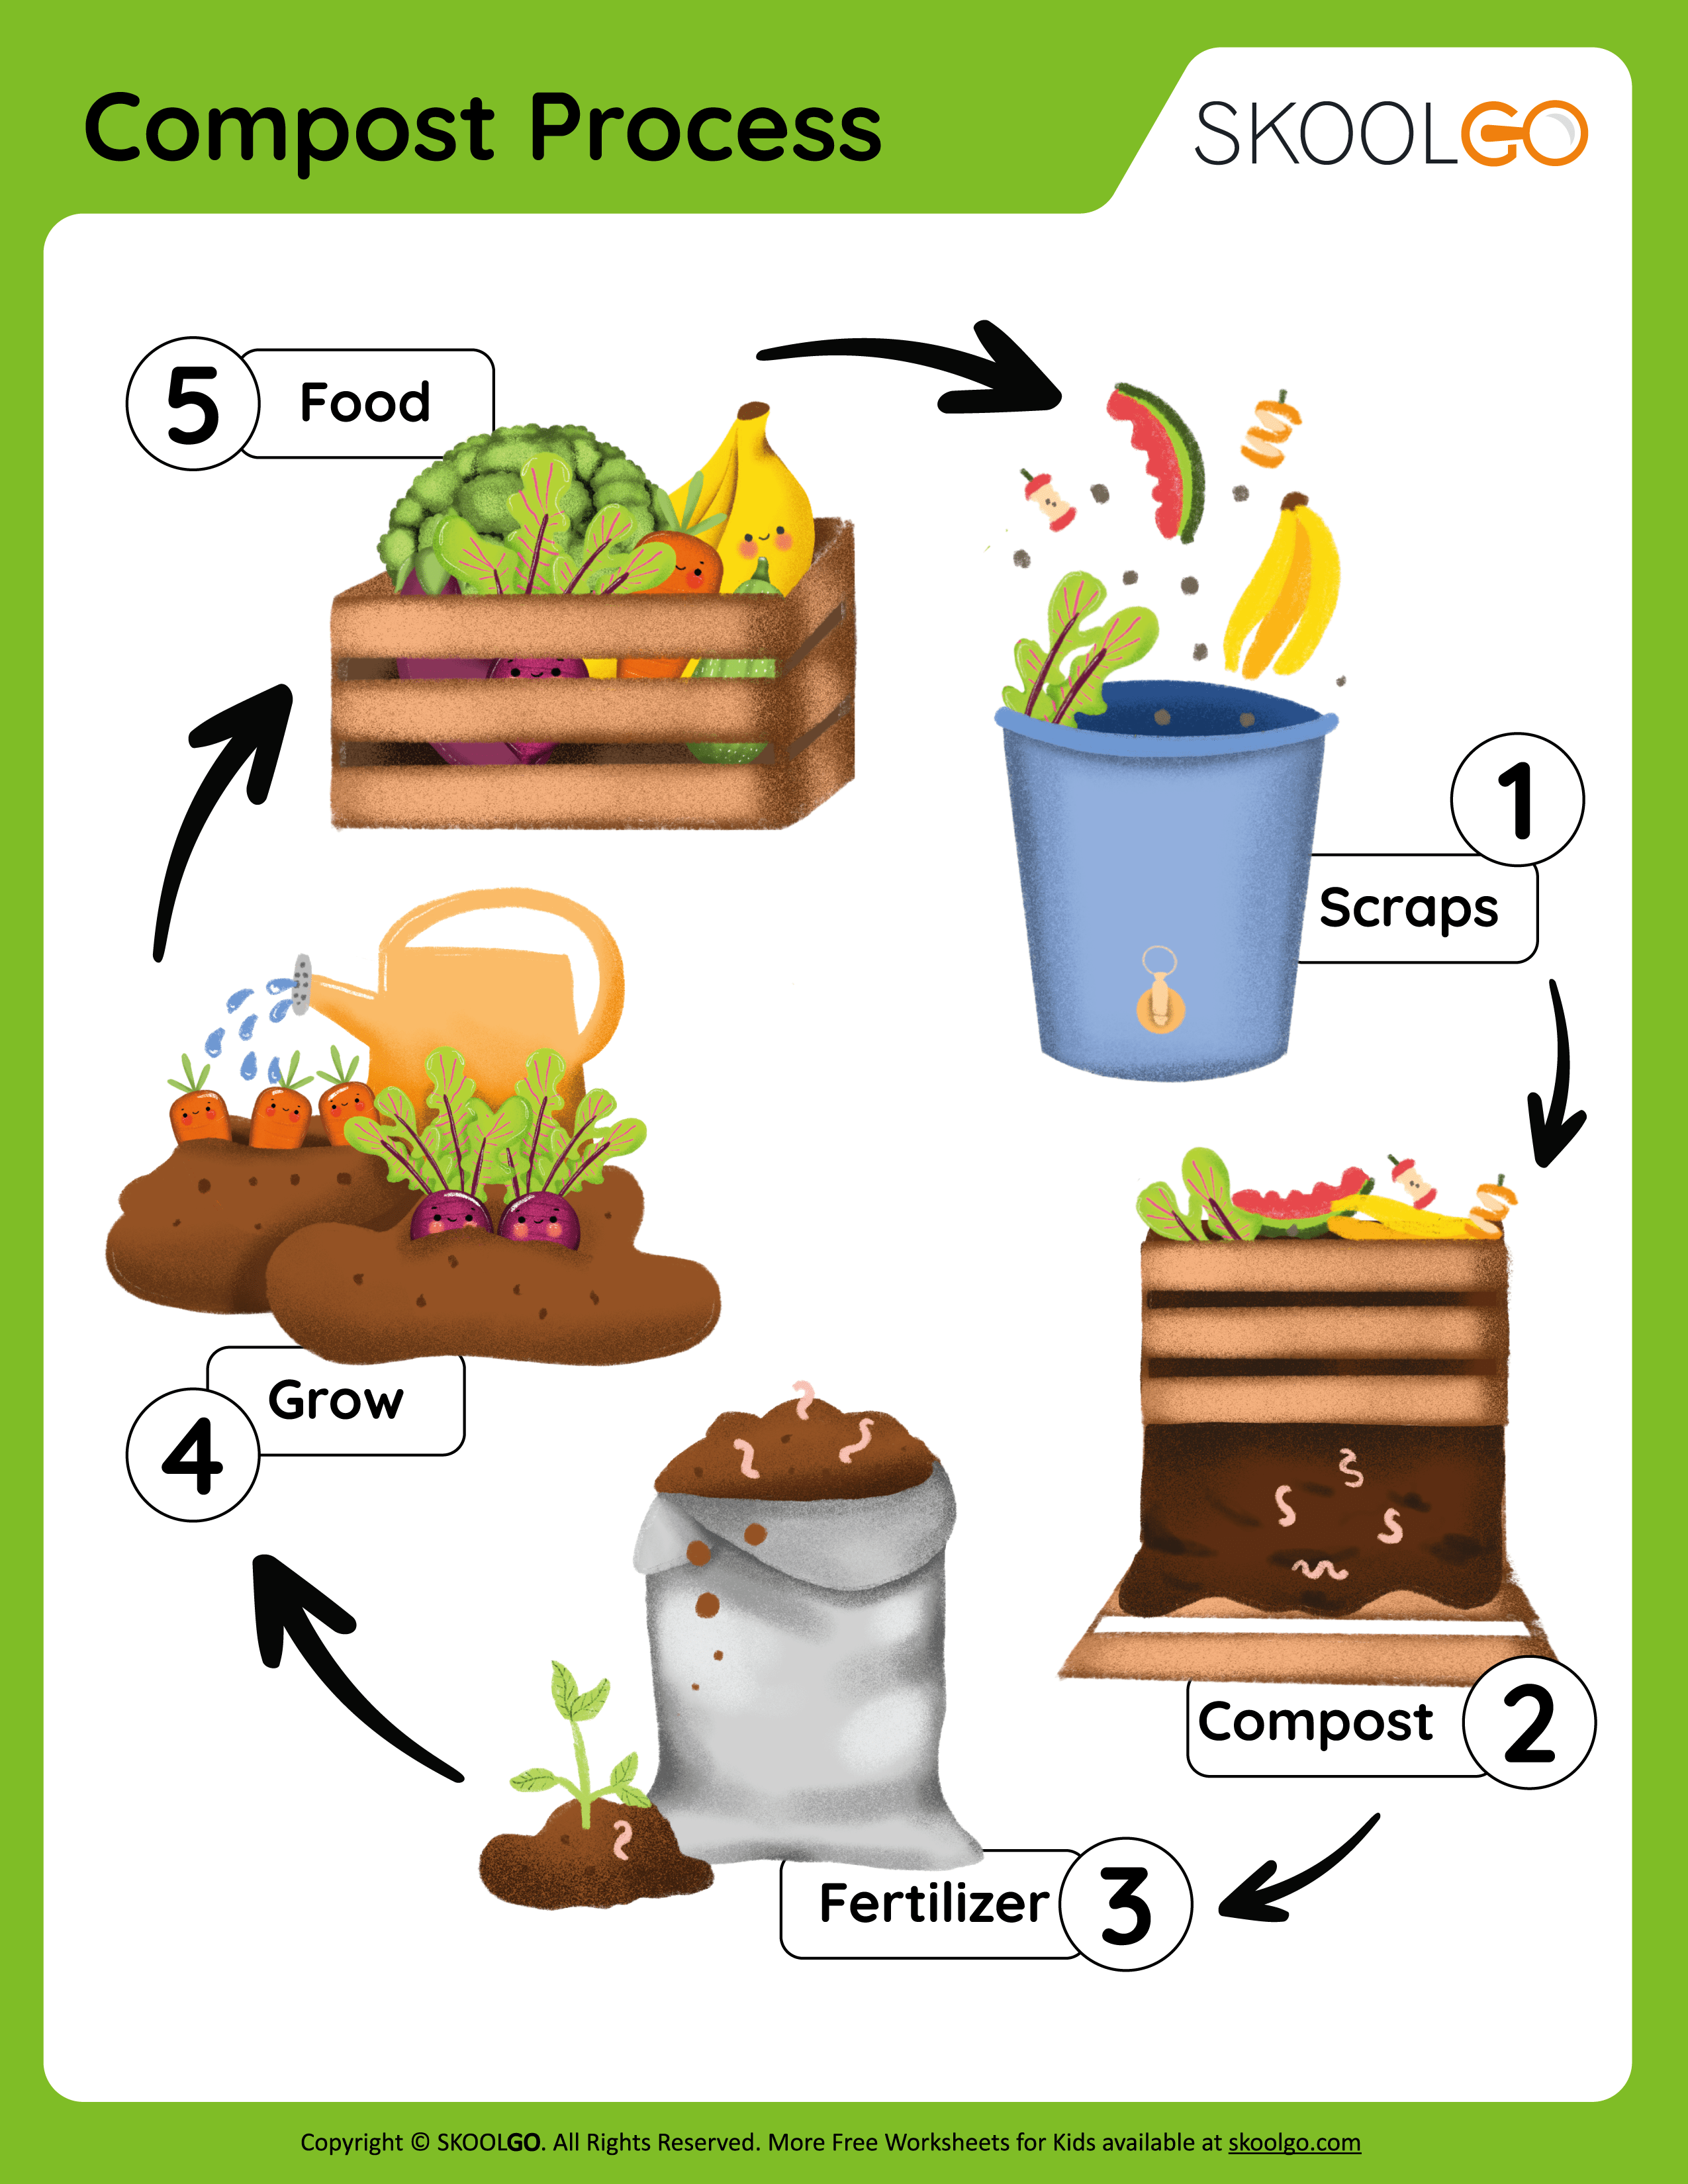
🌍 Lesson Focus: How Nature Recycles — The Composting Process
Objective: Students will understand how living and nonliving things work together to decompose organic matter and create rich soil, and how carbon and nitrogen play key roles in the process.
🧠 Key Concepts
Compost – Nature’s way of recycling! It’s what happens when dead plants, food scraps, and leaves break down into soil.
Decomposition – The process of breaking things down into smaller parts.
Carbon (“browns”) – Things like pine straw, leaves, and wood chips that give energy to decomposers.
Nitrogen (“greens”) – Things like grass, weeds, and kitchen scraps that give protein to decomposers.
Decomposers – Tiny living things (bacteria, worms, fungi) that do the work of turning waste into soil.
⚗️ Demonstration Steps
Build the Layers
Show students how you alternate layers:
Browns → pine straw, leaves, wood chips
Greens → grass clippings, weeds, fruit/vegetable scraps
Explain that you’re balancing carbon (energy) and nitrogen (protein) just like a recipe.
Add Water & Air
Spray lightly with water and explain that decomposers need moisture and air to survive — just like us!
Observe Changes Over Time
Encourage students to check for:
Heat (feel the center — safely, if possible)
Smell (earthy vs. stinky)
Texture (materials softening)
Life (worms, bugs, fungi)
🔬 Classroom Discussion Prompts
Why do you think decomposers are important to the Earth?
What might happen if we didn’t compost or recycle food scraps?
How does composting help plants grow better?
What’s the difference between “browns” and “greens”?
📒 Extension Ideas
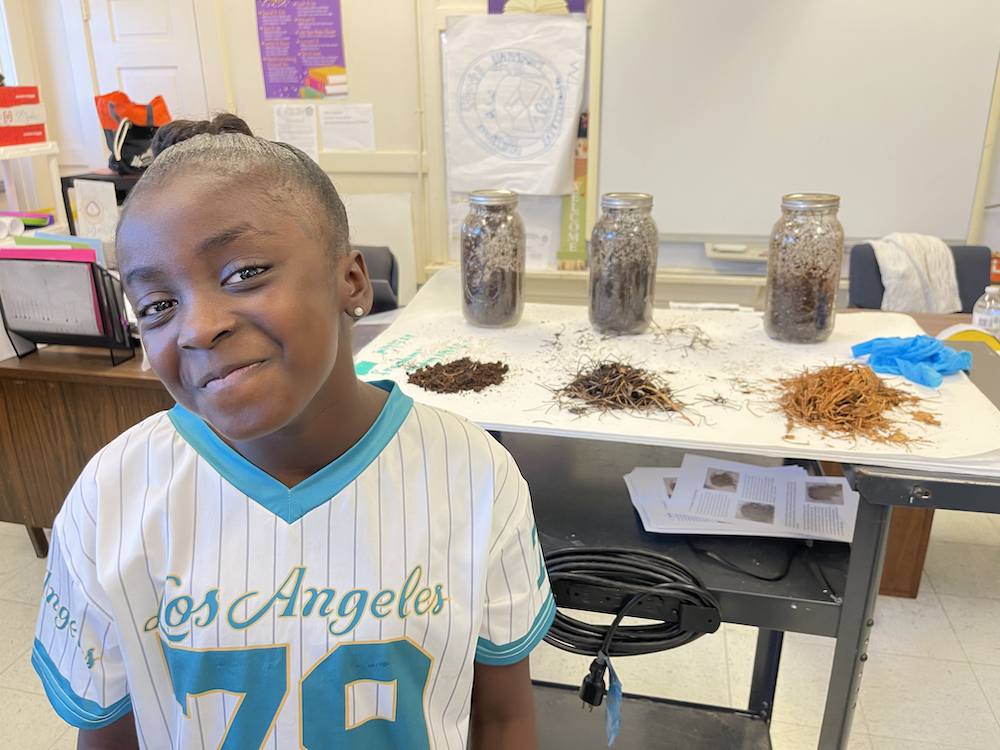
Compost Detectives: Give students magnifying glasses and have them explore the compost pile (or samples) to find decomposers — worms, pill bugs, fungi threads, and insect larvae. They can record what they find, draw pictures, or use a simple “field guide” to identify living things.
Temperature Graph: Use a thermometer to measure pile temperature each week and chart the data.
Vocabulary Poster: Create a class poster labeling “Carbon Materials” and “Nitrogen Materials.”
Kitchen Scrap Compost List: Create a list of items that are safe and unsafe to put in compost bins
Micro Life Under the Microscope: If you have access to a microscope, place a small compost sample on a slide to look for tiny living things like bacteria and fungal threads (hyphae). Discuss how these invisible helpers play a major role.
|  |
 |  |  |